


Introduction
The ValueFirst RCS Plugin enables users to integrate their ValueFirst RCS account with the platform, allowing them to send Rich Communication Services (RCS) messages seamlessly. Before using the plugin, users must register on the Plugin Portal and configure their ValueFirst account credentials. This document outlines the prerequisites and the steps required to complete the configuration.
Pre-requisites
Before configuring the ValueFirst RCS Plugin, ensure that the following prerequisites are met:
- ValueFirst Infinito account with RCS enabled.
- Access to the ValueFirst Plugin Portal.
- The following ValueFirst account details:
- Client ID (used as the Username)
- Client Password (used as the Password)
- Sender ID configured for the RCS account
Configuration
Step 1: Plugin Portal Signup
Log in to the plugin portal using the provided link, complete the sign-up process, and then navigate to the RCS tab. link
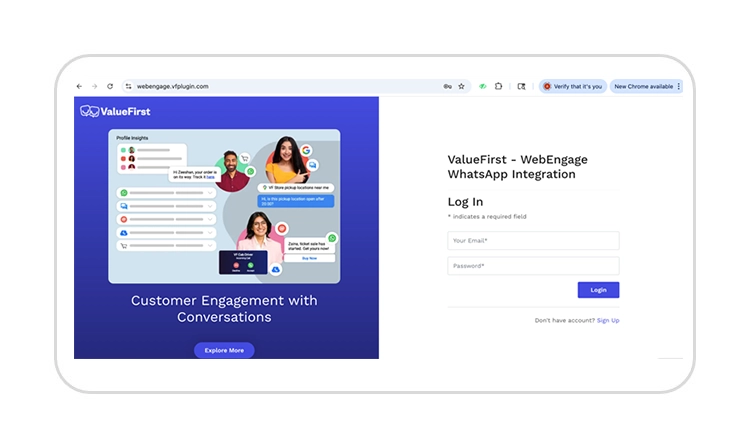
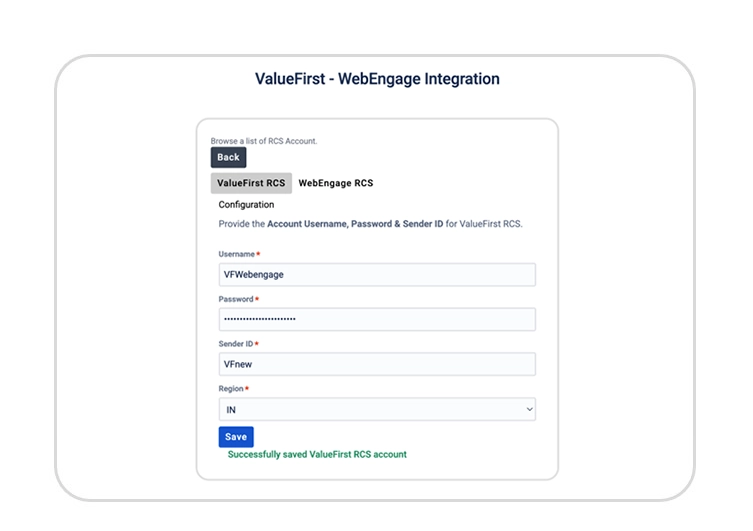
Step 2: Configure ValueFirst Credentials
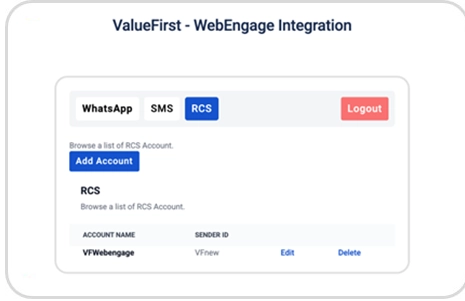
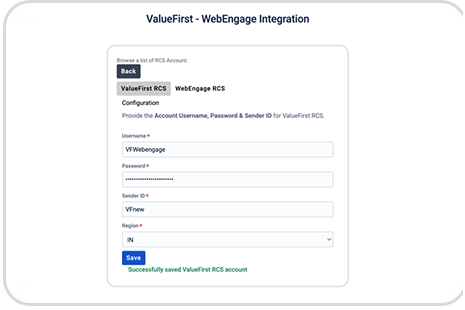
Click on Edit, or select Add New Account if the edit option is not available. Then, navigate to the ValueFirst RCS tab in the plugin portal and enter the following details:
- Username
- Password
- Sender ID
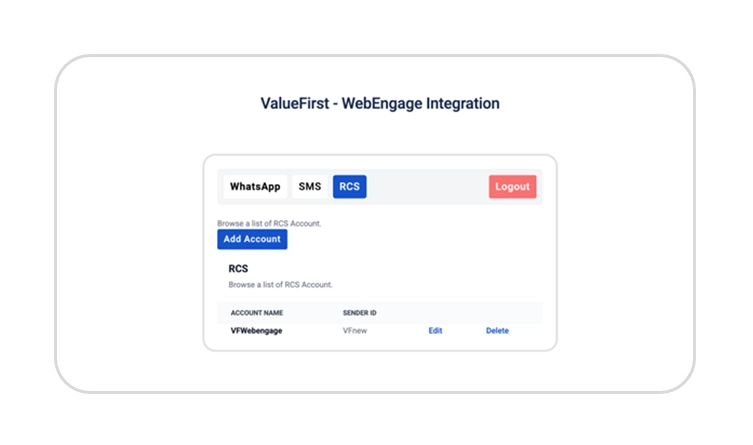
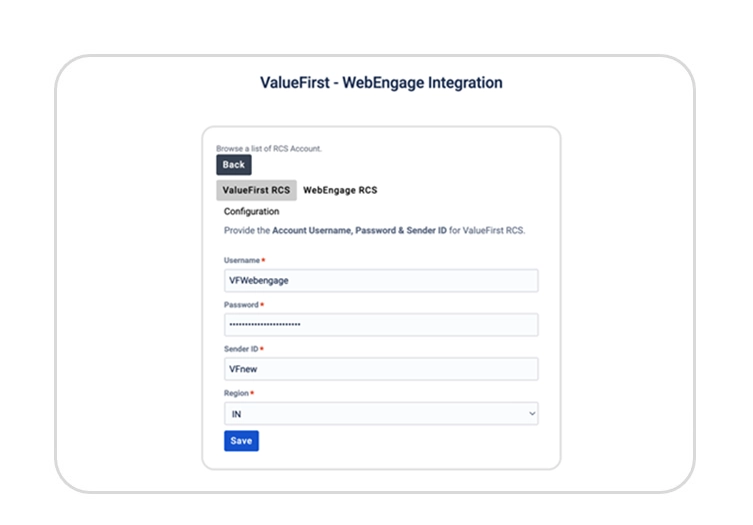
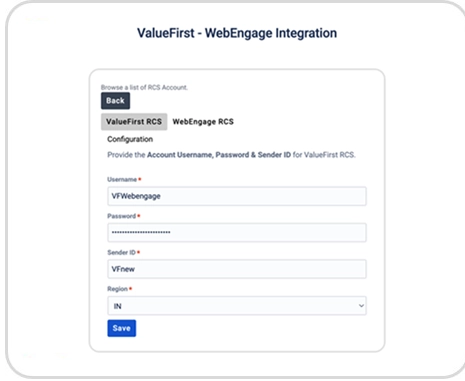
To obtain these credentials:
- Log in to the Infinito Portal
- Navigate to the Developer Module
- Use the Client ID as the username
- Use the Client Password as the password
- Retrieve the Sender ID from the RCS tab in the Infinito Portal.
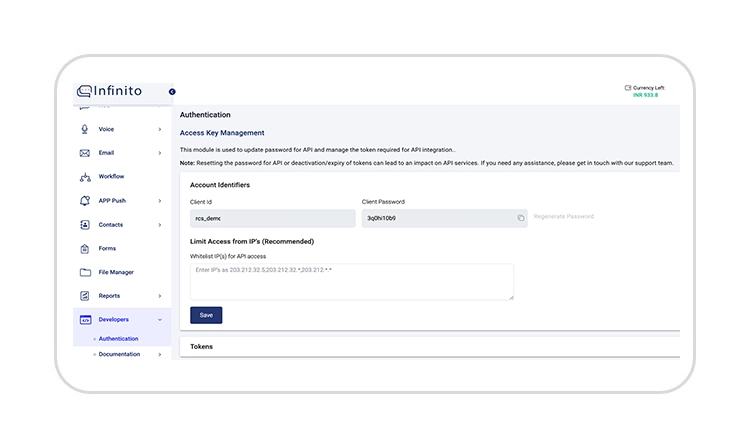
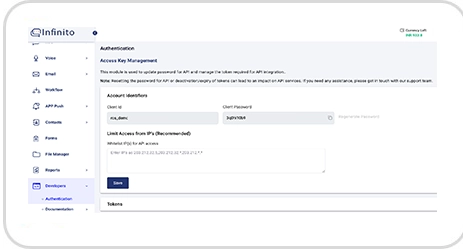
Step 3: Authenticate Configuration
After entering the credentials, select the appropriate region and click Authenticate to verify the configuration.
Step 4: Copy Bearer Token
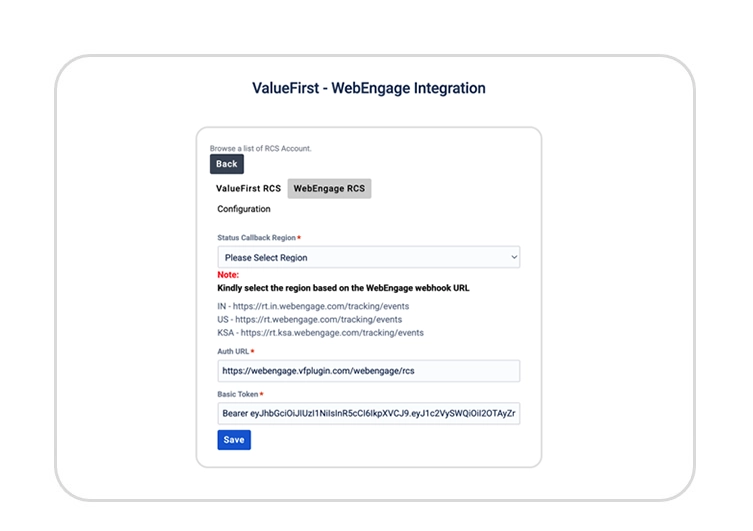
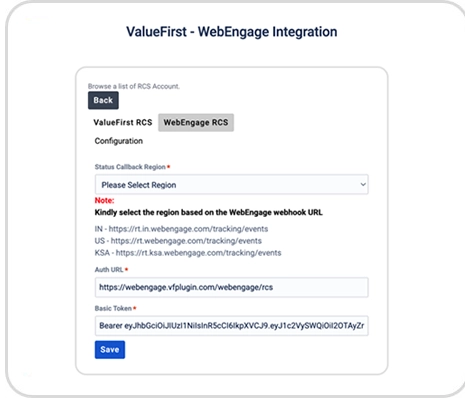
Switch to the WebEngage RCS tab and copy the Bearer Token (the value starting with “e”).
Step 5: Configure ValueFirst connect RCS in WebEngage
In the WebEngage Dashboard, navigate to:
Data Platform → Integrations → RCS, then click Configure.
Scroll down and select ValueFirst Connect RCS, then fill in the following details:
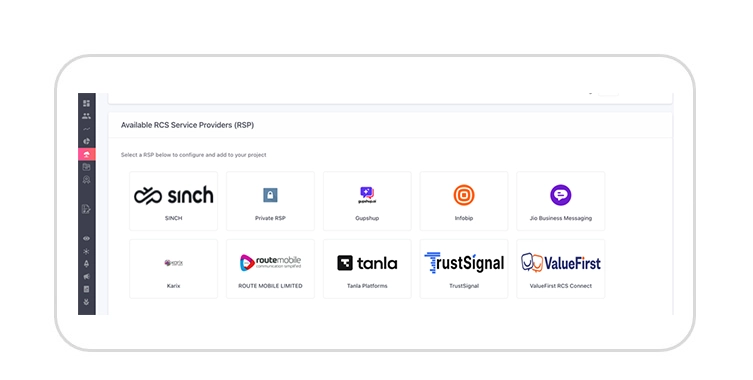
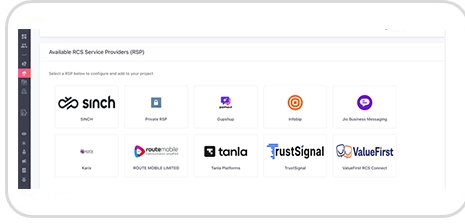
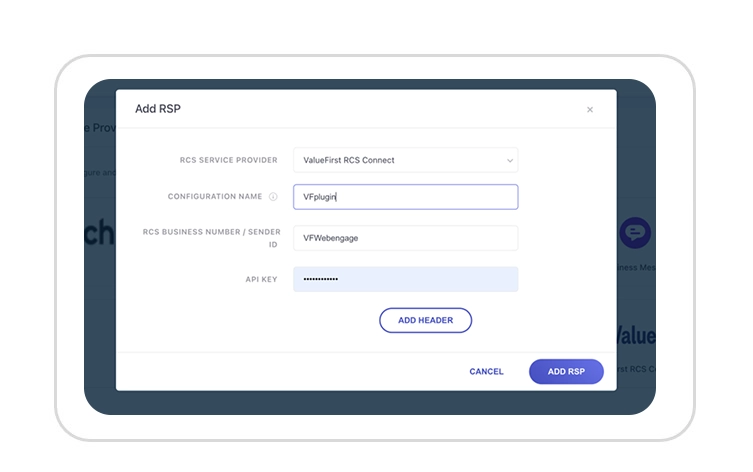
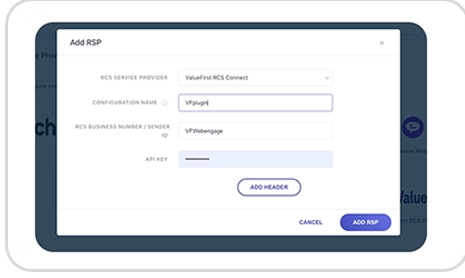
- Configuration Name
- API Key → Paste the Bearer Token copied from the plugin portal
- Please paste the Sender ID in the Sender ID field.
Step 6: Retrieve Webhook URL from WebEngage
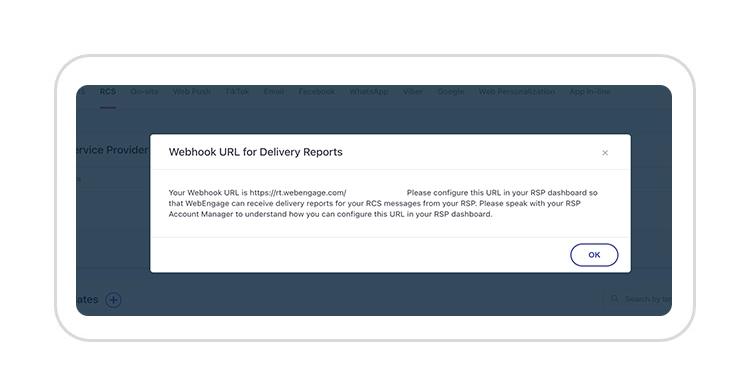
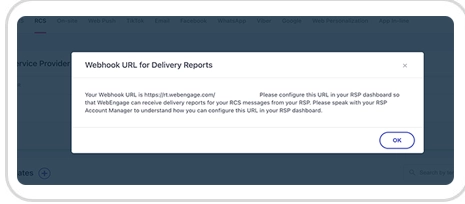
Log in to the WebEngage Dashboard and navigate to: Data Platform → Integrations → RCS Setup (Configure) → Actions (RSP) → View Webhook URL
Copy the webhook URL displayed on this page.
Step 7: Configure WebEngage RCS in Plugin
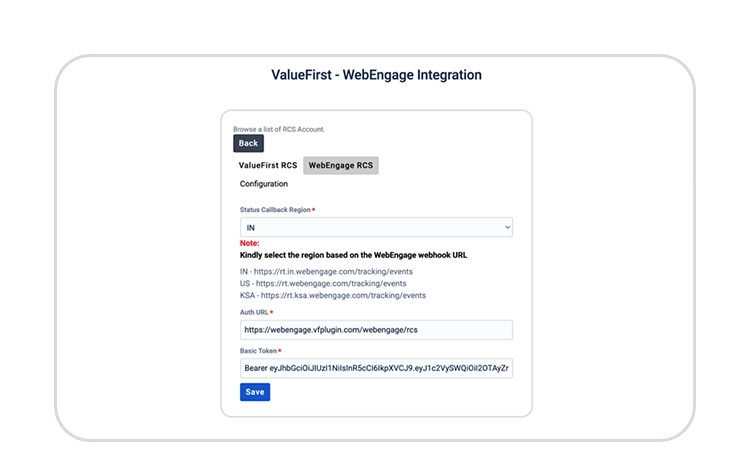
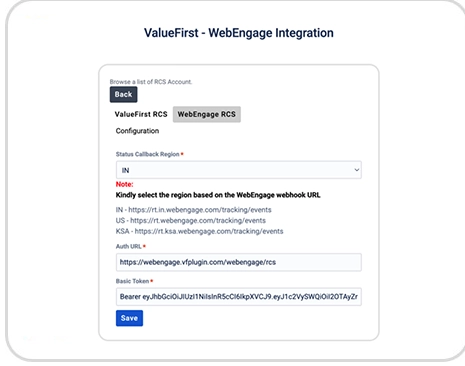
Return to the plugin portal and switch to WebEngage RCS configuration.
- Select one of the three available regions
- Ensure the selected region matches the region indicated in the WebEngage webhook URL
Step 8: Verify Configuration
Before proceeding with campaign execution, send a test message to ensure that the configuration is correct and working as expected.
Note:
For click tracking, whitelist a template with the URL https://weurl.co/{{var}} and create a template in WebEngage using this URL. While triggering the campaign, pass the complete destination URL that needs to be tracked when the user clicks the link.